

Local Development
QStash requires a publicly available API to send messages to. During development when applications are not yet deployed, developers typically need to expose their local API by creating a public tunnel.
While local tunneling works seamlessly, it requires code changes between development and production environments and increases friction for developers. To simplify the development process, Upstash provides QStash CLI, which allows you to run a development server locally for testing and development.
Automatic dev server (JavaScript SDK)
If you are using @upstash/qstash, you can just set QSTASH_DEV=true in your environment variables, and the SDK will download and connect to the dev server automatically.
QSTASH_DEV=trueAdditionally, you can pass devMode: true to explicitly enable dev mode:
import { Client } from "@upstash/qstash";const client = new Client({ devMode: true });await client.publishJSON({ url: "https://example.com/webhook", body: { hello: "world" },});// app/api/webhook/route.tsimport { verifySignatureAppRouter } from "@upstash/qstash/nextjs";export const POST = verifySignatureAppRouter( async (request) => { // signed by the local dev server return new Response("ok"); }, { devMode: true });On startup the SDK prints the dev server URL and a link to the Upstash Console:
[QStash Dev] Server running at http://127.0.0.1:8080 Console: https://console.upstash.com/qstash/local-mode-user?port=8080When dev mode is active, the SDK will:
- Download the latest
qstashbinary on first use, cached in your OS cache directory:- macOS:
~/Library/Caches/upstash/qstash-dev - Linux:
~/.cache/upstash/qstash-dev - Windows:
%LOCALAPPDATA%\upstash\qstash-dev
- macOS:
- Spawn the server on port
8080(override withQSTASH_DEV_PORT). - Confirm the server is running on the configured port and skip spawning if it is.
- Override the
baseUrl,token, and signing keys you provide and use the dev server's instead.
Dev mode is automatically a no-op when NODE_ENV=production and in browser/edge runtimes.
Next.js edge routes
If you are using edge routes in Next.js, the SDK cannot spawn the dev server from the edge runtime — it can only verify it is reachable. To start the server before any edge request hits, call registerQStashDev() from instrumentation.ts:
// instrumentation.tsimport { registerQStashDev } from "@upstash/qstash/nextjs";export const register = () => registerQStashDev();Running the dev server manually
If you would rather run the dev server manually (Python, Go, plain HTTP, etc.), use the QStash CLI directly.
@upstash/qstash-cli
Install the binary via the @upstash/qstash-cli NPM package:
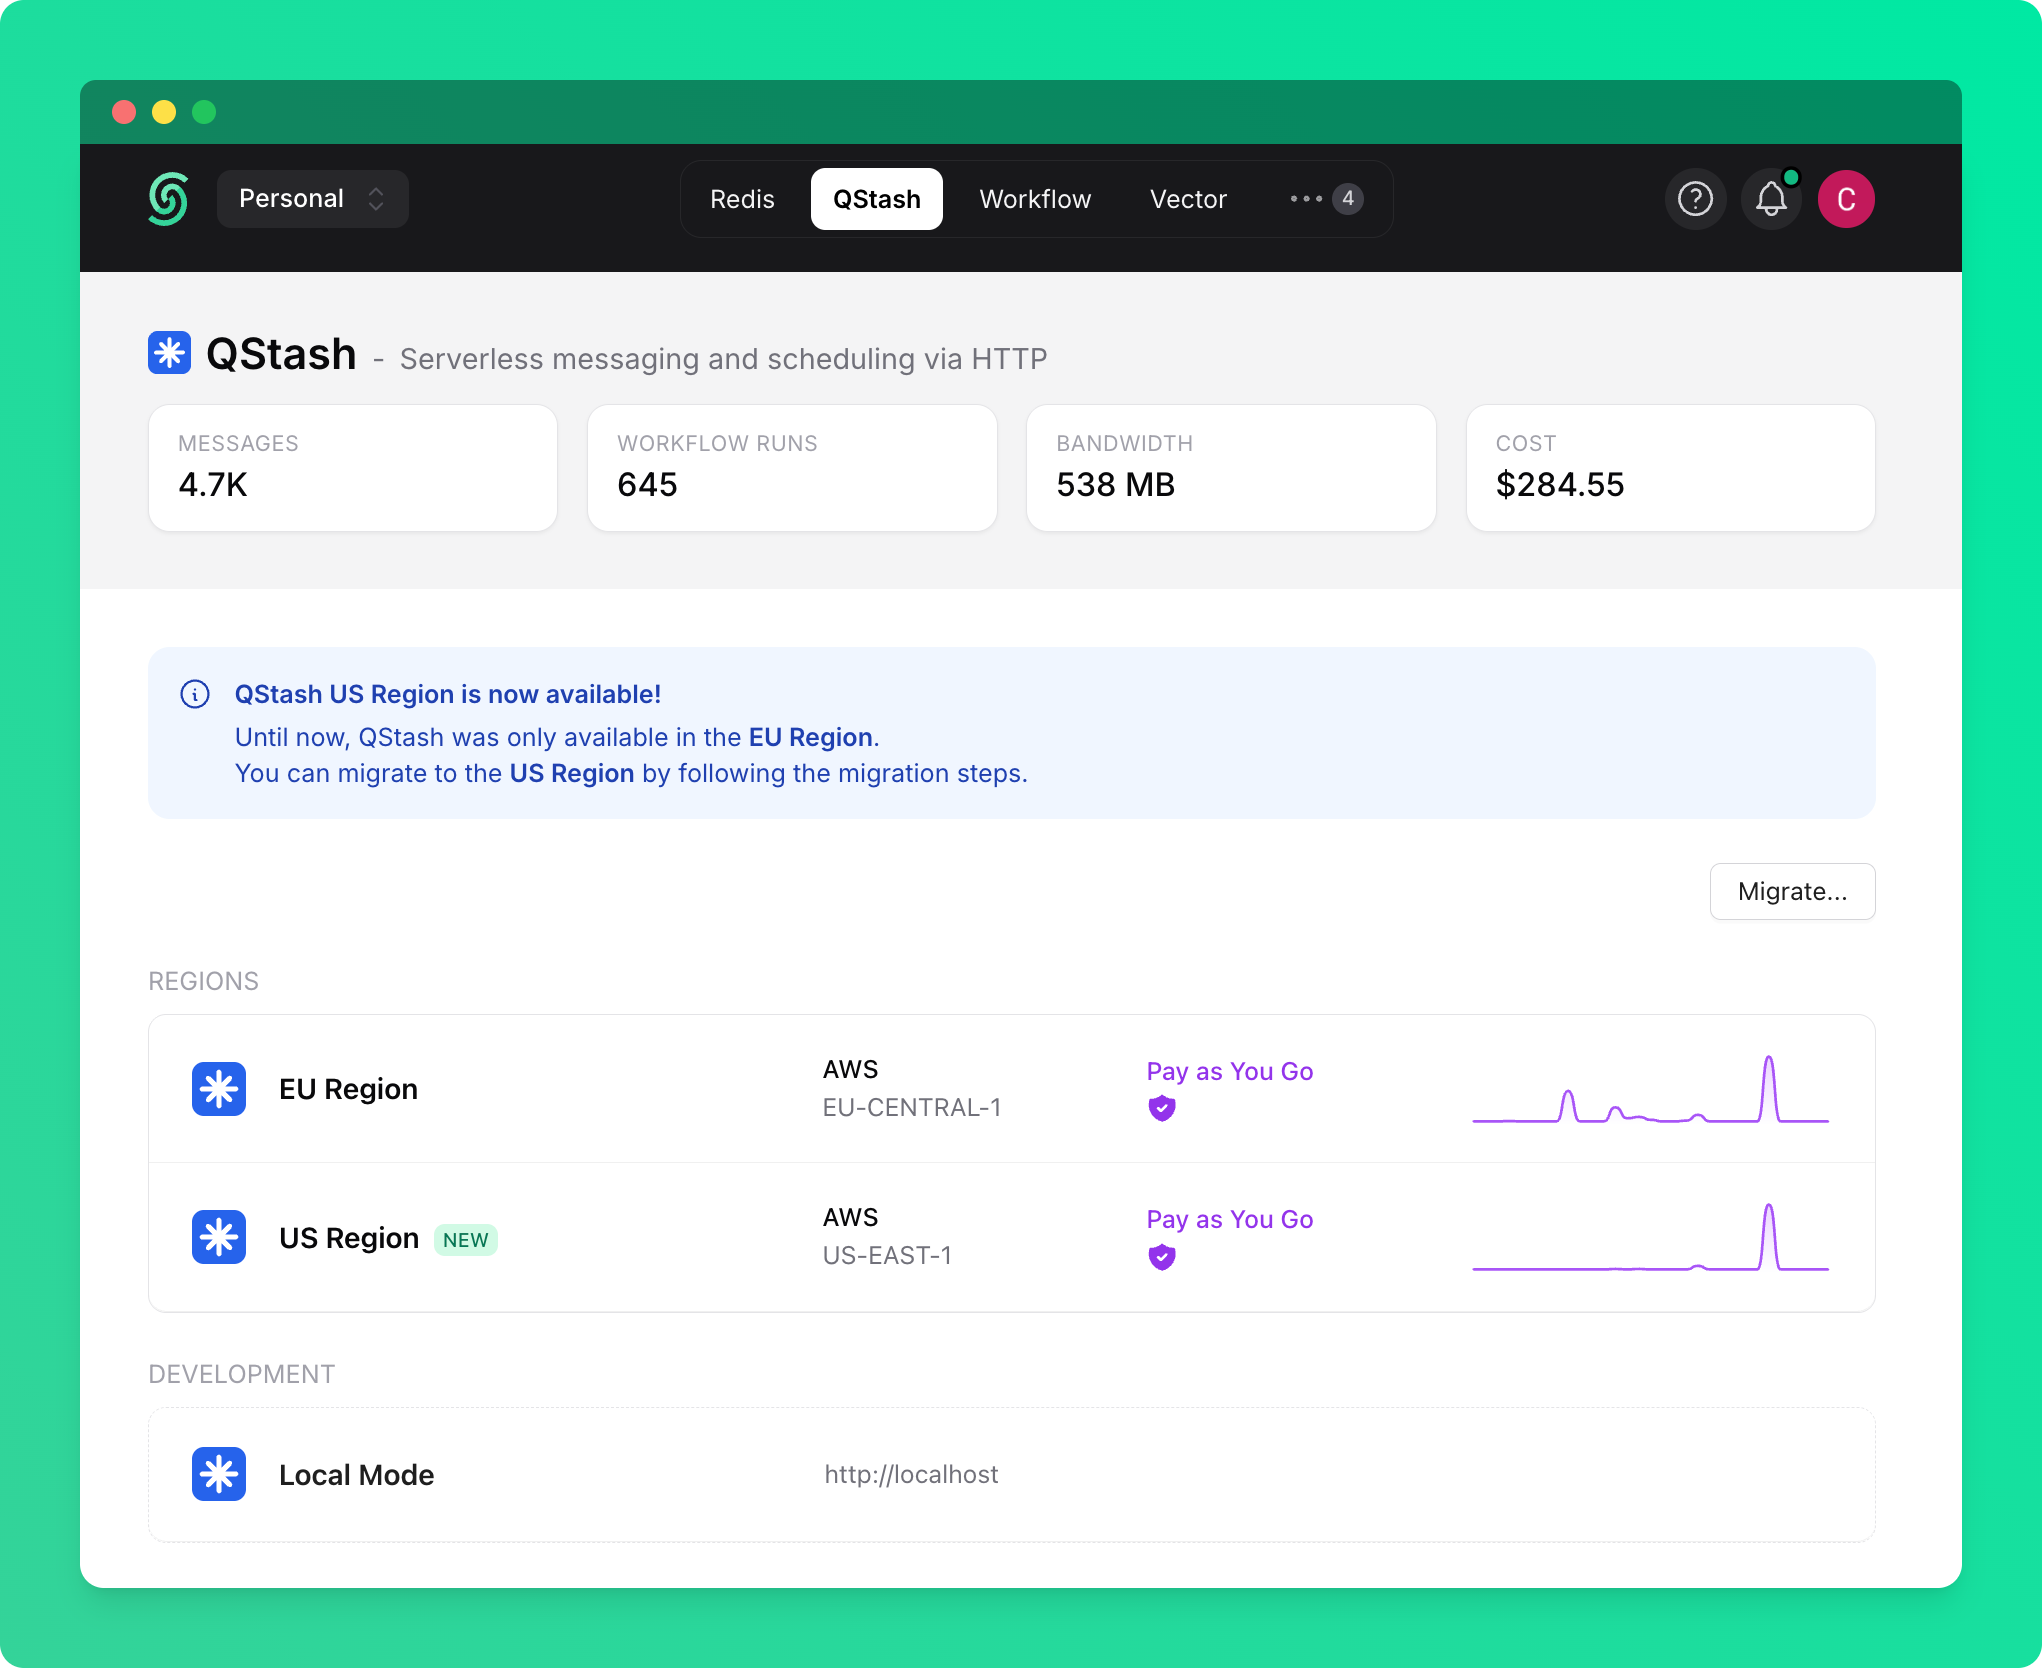
npx @upstash/qstash-cli dev// Start on a different portnpx @upstash/qstash-cli dev -port=8081// Start with a custom log server portnpx @upstash/qstash-cli dev -port=8081 -log-port=9000Once you start the local server, you can go to the QStash tab on Upstash Console and enable local mode, which will allow you to publish requests and monitor messages with the local server.
Docker
QStash CLI is available as a Docker image through our public AWS ECR repository:
// Pull the imagedocker pull public.ecr.aws/upstash/qstash:latest// Run the imagedocker run -p 8080:8080 public.ecr.aws/upstash/qstash:latest qstash devDirect download
You can download the binary directly from our artifact repository without using a package manager:
https://artifacts.upstash.com/#qstash/versions/
Select the appropriate version, architecture, and operating system for your platform. After extracting the archive file, run the executable:
$ ./qstash devCLI reference
Currently, the only available command for QStash CLI is dev, which starts a development server instance.
$ ./qstash dev --helpUsage of dev: -log-port int Port to run the QStash log server on [env QSTASH_DEV_LOG_PORT] -port int Port to run the QStash server on [env QSTASH_DEV_PORT] (default 8080) -quota string The quota of users [env QSTASH_DEV_QUOTA] (default "payg")Server Components
Running qstash dev starts two components:
- QStash server — the main API server, defaults to port
8080. Use-portorQSTASH_DEV_PORTto change it. - Log server — serves logs and is used by the Upstash Console and Logs API. Defaults to
port + 1(i.e.,8081when using the default port). Use-log-portorQSTASH_DEV_LOG_PORTto change it.
# Start with custom ports for both components$ ./qstash dev -port=8080 -log-port=9000Test users
There are predefined test users available. You can configure the quota type of users using the -quota option, with available options being payg and pro.
These quotas don't affect performance but allow you to simulate different server limits based on the subscription tier.
After starting the development server using any of the methods above, it will display the necessary environment variables. Select and copy the credentials from one of the following test users:
QSTASH_URL="http://localhost:8080"QSTASH_TOKEN="eyJVc2VySUQiOiJkZWZhdWx0VXNlciIsIlBhc3N3b3JkIjoiZGVmYXVsdFBhc3N3b3JkIn0="QSTASH_CURRENT_SIGNING_KEY="sig_7kYjw48mhY7kAjqNGcy6cr29RJ6r"QSTASH_NEXT_SIGNING_KEY="sig_5ZB6DVzB1wjE8S6rZ7eenA8Pdnhs"QSTASH_URL="http://localhost:8080"QSTASH_TOKEN="eyJVc2VySUQiOiJ0ZXN0VXNlcjEiLCJQYXNzd29yZCI6InRlc3RQYXNzd29yZCJ9"QSTASH_CURRENT_SIGNING_KEY="sig_7GVPjvuwsfqF65iC8fSrs1dfYruM"QSTASH_NEXT_SIGNING_KEY="sig_5NoELc3EFnZn4DVS5bDs2Nk4b7Ua"QSTASH_URL="http://localhost:8080"QSTASH_TOKEN="eyJVc2VySUQiOiJ0ZXN0VXNlcjIiLCJQYXNzd29yZCI6InRlc3RQYXNzd29yZCJ9"QSTASH_CURRENT_SIGNING_KEY="sig_6jWGaWRxHsw4vMSPJprXadyvrybF"QSTASH_NEXT_SIGNING_KEY="sig_7qHbvhmahe5GwfePDiS5Lg3pi6Qx"QSTASH_URL="http://localhost:8080"QSTASH_TOKEN="eyJVc2VySUQiOiJ0ZXN0VXNlcjMiLCJQYXNzd29yZCI6InRlc3RQYXNzd29yZCJ9"QSTASH_CURRENT_SIGNING_KEY="sig_5T8FcSsynBjn9mMLBsXhpacRovJf"QSTASH_NEXT_SIGNING_KEY="sig_7GFR4YaDshFcqsxWRZpRB161jguD"License
The QStash development server is licensed under the Development Server License, which restricts its use to development and testing purposes only. It is not permitted to use it in production environments. Please refer to the full license text for details.