

Build a Real-Time Chat Application with Serverless Redis
In this tutorial, we will build a real-time chat application using Flask and SocketIO, leveraging Upstash Redis for efficient message handling. Redis, being a fast, in-memory data store, provides an ideal backbone for real-time messaging systems due to its low latency and support for Pub/Sub messaging patterns.
Why Upstash Redis?
- Scalability: Handles large volumes of messages with minimal latency.
- Simplicity: Easy to set up with minimal configuration.
- Cost-Efficiency: Serverless model reduces operational costs.
Setup
1. Install the Required Libraries
Install Flask, Flask-SocketIO, and the Redis library by running:
pip install flask flask-socketio redis2. Create a Redis Database
Create a Redis database using the Upstash Console or Upstash CLI.
Create a .env file in the root of your project with the following content:
UPSTASH_REDIS_HOST=your_upstash_redis_hostUPSTASH_REDIS_PORT=your_upstash_redis_portUPSTASH_REDIS_PASSWORD=your_upstash_redis_passwordCode
Now, it's time to implement the chat application. We'll create a Flask server that uses SocketIO for real-time communication. We'll also configure the server to use Upstash Redis as the message queue.
We need to use the rediss:// protocol instead of redis:// to connect to Redis over TLS. This ensures secure communication between the server and the Redis instance.
from flask import Flask, render_templatefrom flask_socketio import SocketIOimport os# Initialize Flask appapp = Flask(__name__)app.config["SECRET_KEY"] = os.getenv("SECRET_KEY", os.urandom(24))# Set up Redis URL with TLSredis_password = os.getenv('UPSTASH_REDIS_PASSWORD')redis_host = os.getenv('UPSTASH_REDIS_HOST')redis_port = int(os.getenv('UPSTASH_REDIS_PORT', 6379))redis_url = f"rediss://:{redis_password}@{redis_host}:{redis_port}"# Initialize SocketIO with Redis message queuesocketio = SocketIO(app, message_queue=redis_url, cors_allowed_origins="*")# WebSocket handlers@socketio.on("connect")def handle_connect(): print("Client connected.")@socketio.on("disconnect")def handle_disconnect(): print("Client disconnected.")@socketio.on("message")def handle_message(data): """Handle incoming chat messages.""" print(f"Message received: {data}") # Broadcast the message to all connected clients except the sender socketio.emit("message", data, include_self=False)# Serve the chat HTML page@app.route("/")def index(): return render_template("chat.html") # Render the chat interface templateif __name__ == "__main__": socketio.run(app, debug=True, host="0.0.0.0", port=8000)Code Explanation
- We initialized a Flask app and set a secret key for session management.
- We set up the Redis URL with TLS for secure communication.
- We initialize a SocketIO instance with the Flask app and configure it to use Redis as the message queue.
- We define WebSocket event handlers for
connect,disconnect, andmessageevents. - The
handle_messagefunction broadcasts the received message to all connected clients except the sender. - We define a route to serve the chat interface template.
Now let's create a template for the chat interface. We're not going to go into the details of the HTML and CSS, as the focus is on the real-time messaging functionality.
<!DOCTYPE html><html lang="en"><head> <meta charset="UTF-8"> <meta name="viewport" content="width=device-width, initial-scale=1.0"> <title>Real-Time Chat</title> <script src="https://cdn.socket.io/4.5.4/socket.io.min.js"></script> <style> body { font-family: Arial, sans-serif; margin: 0; padding: 0; display: flex; flex-direction: column; align-items: center; justify-content: center; height: 100vh; background-color: #f4f6f9; } #chat-container { width: 90%; max-width: 600px; height: 70%; border: 1px solid #ddd; border-radius: 10px; background-color: #fff; display: flex; flex-direction: column; box-shadow: 0 4px 8px rgba(0, 0, 0, 0.1); } #chat-box { flex: 1; overflow-y: auto; padding: 15px; border-bottom: 1px solid #ddd; scrollbar-width: thin; scrollbar-color: #ccc #f4f6f9; } #chat-box::-webkit-scrollbar { width: 8px; } #chat-box::-webkit-scrollbar-thumb { background: #ccc; border-radius: 5px; } .message { margin: 10px 0; padding: 10px 15px; border-radius: 15px; max-width: 70%; word-wrap: break-word; } .message.sent { align-self: flex-end; background-color: #007BFF; color: white; } .message.received { align-self: flex-start; background-color: #f1f1f1; color: black; } #input-container { display: flex; padding: 10px; gap: 10px; background-color: #f4f6f9; border-radius: 0 0 10px 10px; } #message-input { flex: 1; padding: 10px; font-size: 16px; border: 1px solid #ccc; border-radius: 5px; } #send-button { padding: 10px 20px; font-size: 16px; border: none; border-radius: 5px; background-color: #007BFF; color: white; cursor: pointer; transition: background-color 0.3s ease; } #send-button:hover { background-color: #0056b3; } </style></head><body> <div id="chat-container"> <div id="chat-box"></div> <div id="input-container"> <input id="message-input" type="text" placeholder="Type your message..."> <button id="send-button">Send</button> </div> </div> <script> const socket = io(); const chatBox = document.getElementById("chat-box"); const messageInput = document.getElementById("message-input"); const sendButton = document.getElementById("send-button"); // Generate or retrieve a random username for this tab function getUsername() { let username = sessionStorage.getItem("username"); if (!username) { username = "User" + Math.floor(Math.random() * 1000); // Temporary random username sessionStorage.setItem("username", username); } return username; } const username = getUsername(); // Append message to chat box function addMessage(message, type = "received") { const messageElement = document.createElement("div"); messageElement.textContent = message; messageElement.classList.add("message", type); chatBox.appendChild(messageElement); chatBox.scrollTop = chatBox.scrollHeight; } // Receive messages from server socket.on("message", (data) => { addMessage(`${data.user}: ${data.message}`, "received"); }); // Send message to server sendButton.addEventListener("click", () => { const message = messageInput.value.trim(); if (message) { addMessage(`You: ${message}`, "sent"); socket.emit("message", { user: username, message }); messageInput.value = ""; } }); // Optional: Press Enter to send a message messageInput.addEventListener("keypress", (e) => { if (e.key === "Enter") { sendButton.click(); } }); </script></body></html>Running the Application
- Start the server:
python app.py - Open your web browser and go to
http://localhost:8000/.
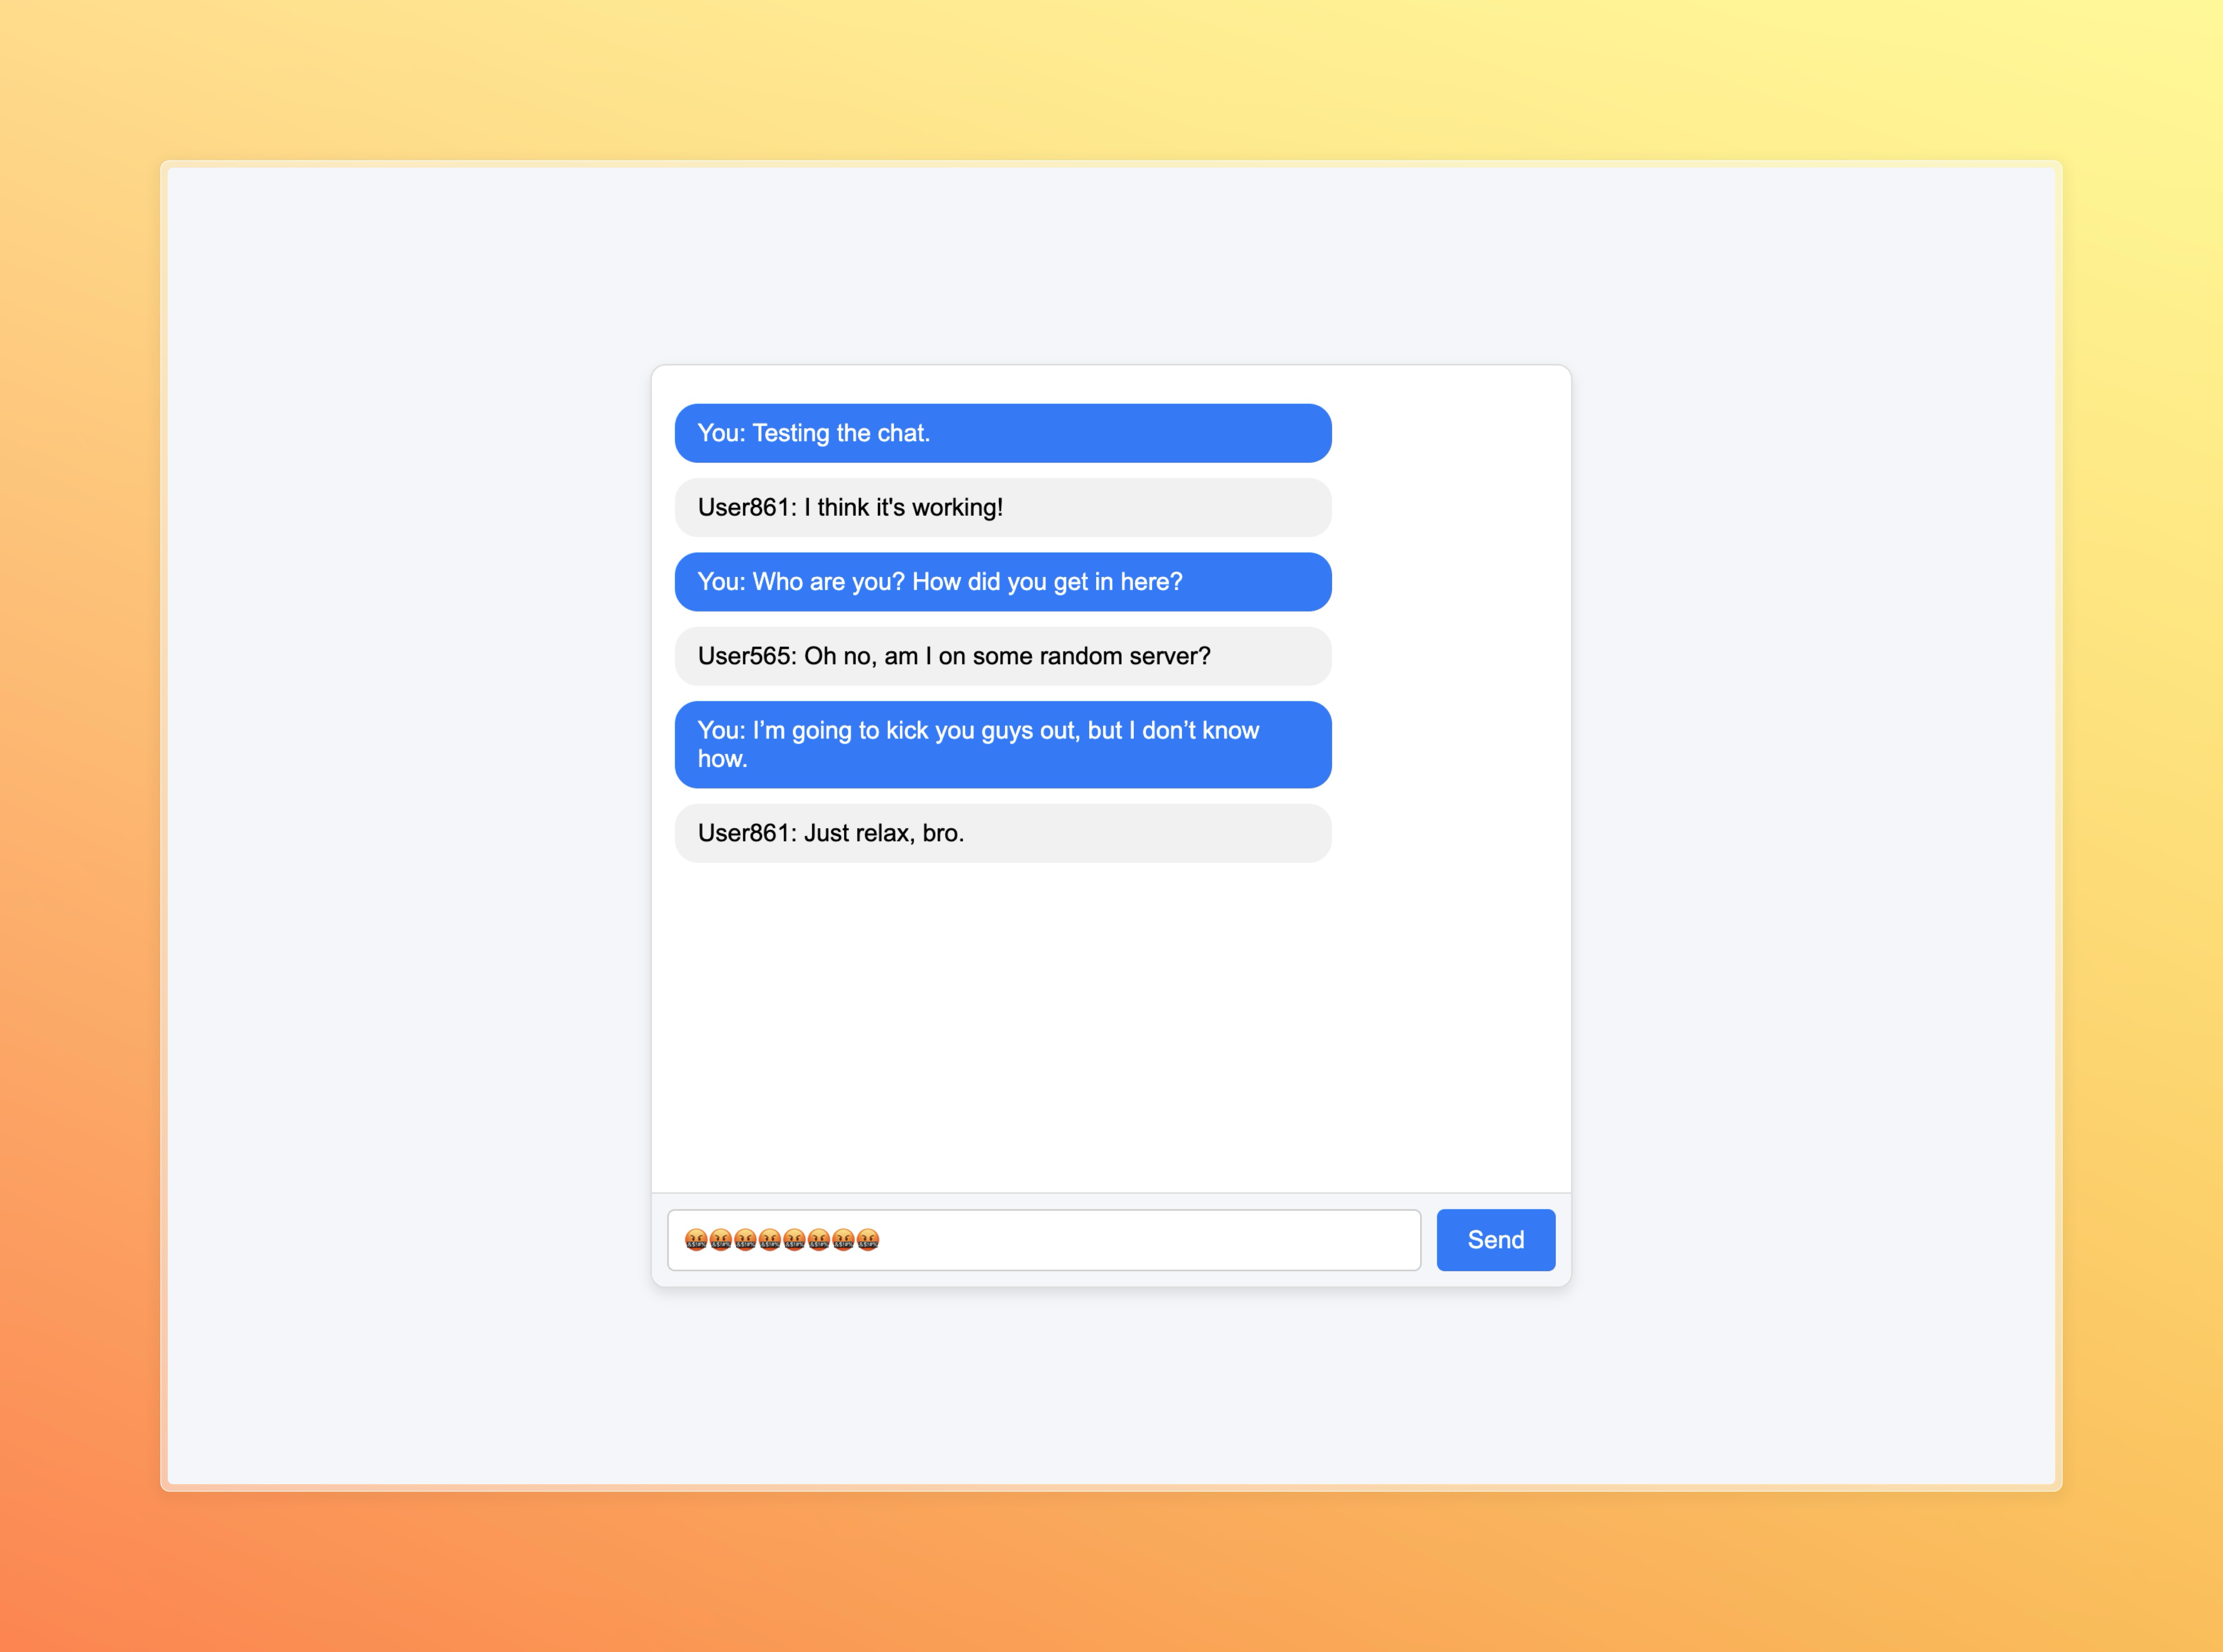
You should see the chat interface. You can send and recieve messages in real-time. Just open the same URL in multiple tabs or browsers to simulate multiple users chatting with each other.
Conclusion
In this tutorial, we built a real-time chat application using Flask, SocketIO, and Upstash Redis. Redis, with its low latency and high throughput, is an ideal choice for real-time messaging systems.
To learn more about Upstash Redis, visit the Upstash Redis Documentation.