# Getting Started
> Creating an Upstash Search Database
import { Catalog } from "/snippets/catalog.jsx";
---
---
We now have **[Redis Search](/redis/search/introduction)** in Upstash.
If you are starting a new project, we recommend using **Redis Search**:
- Index and query your Redis data with a schema.
- Use advanced query operators and aggregations.
- Keep your data and search in one place.
See [Redis Search Introduction](/redis/search/introduction) for details.
---
## Quickstart
Check out our Next.js quickstart guide if you're working in Next.js.
Use Upstash Search in your Next.js app
---
## Create a Database
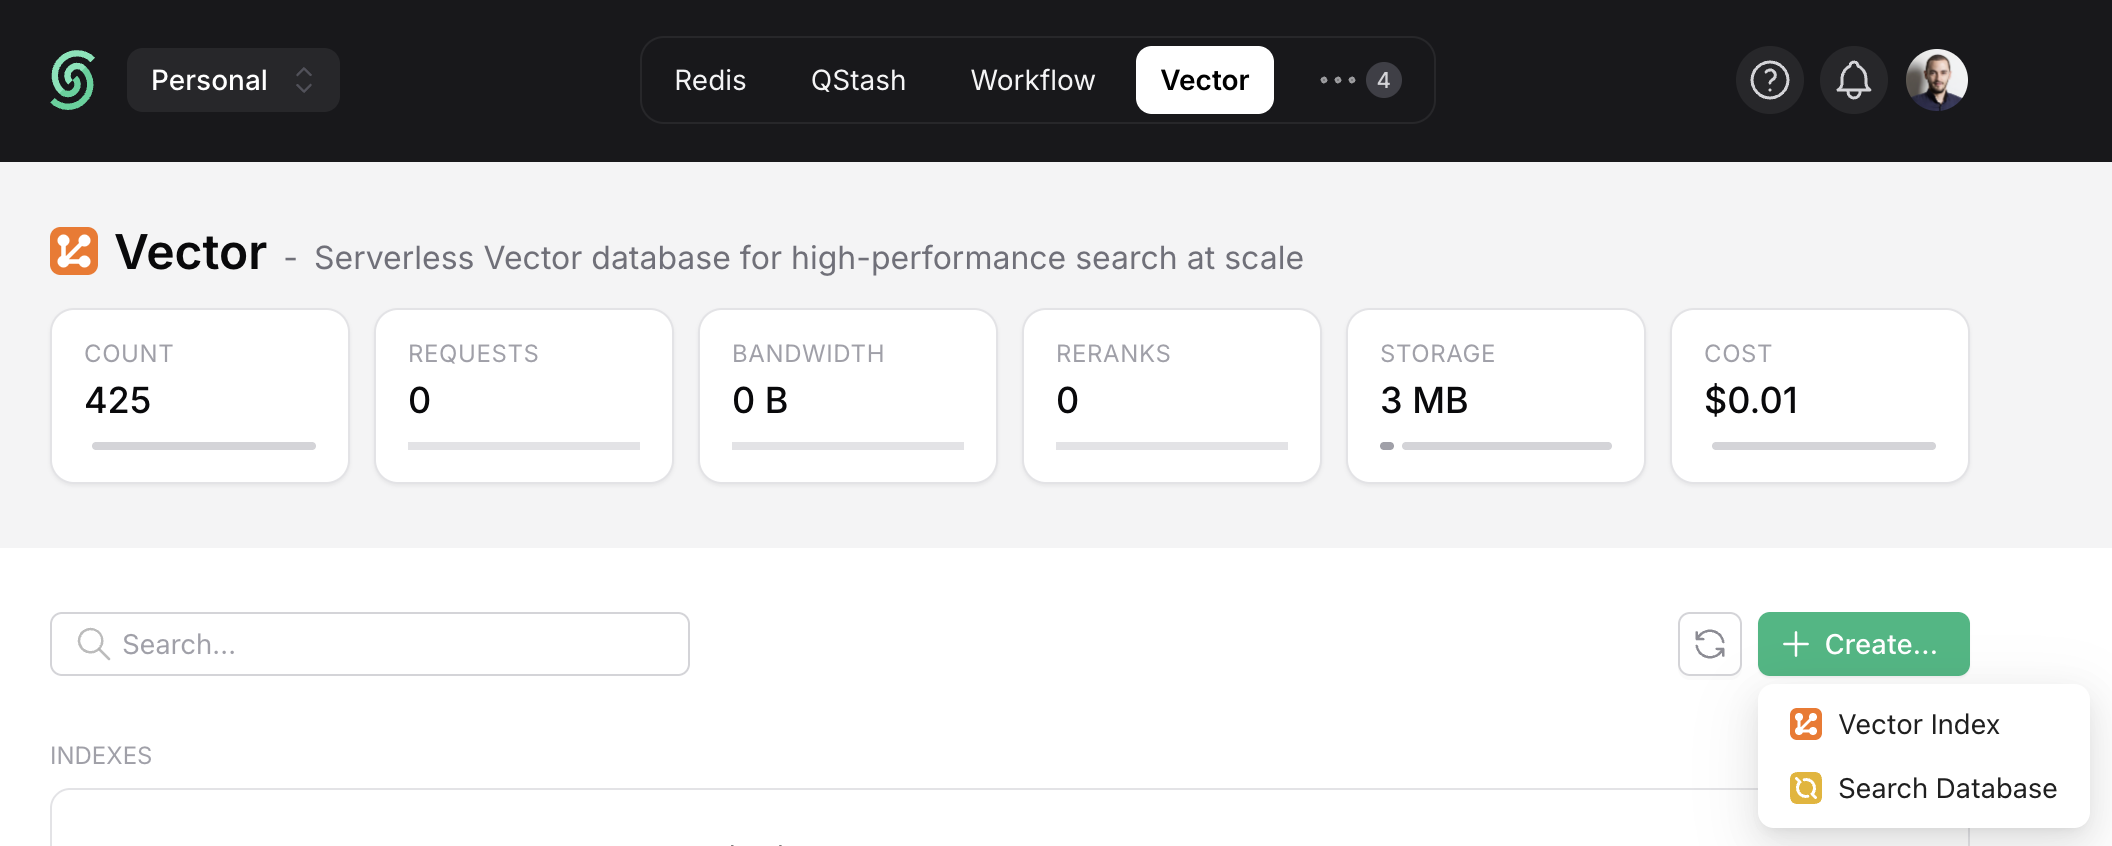
Create a Search Database by navigating to the `Vector` tab and clicking on the `Search Database` button under `Create`.
A dialog with the following options will open:
- **Name:** Type a name for your database (e.g. "product-search").
- **Region:** Choose the region for your database. For best performance, select the region closest to your application.
_We plan to support additional regions and cloud providers. Feel free to send your requests to [support@upstash.com](mailto:support@upstash.com)._
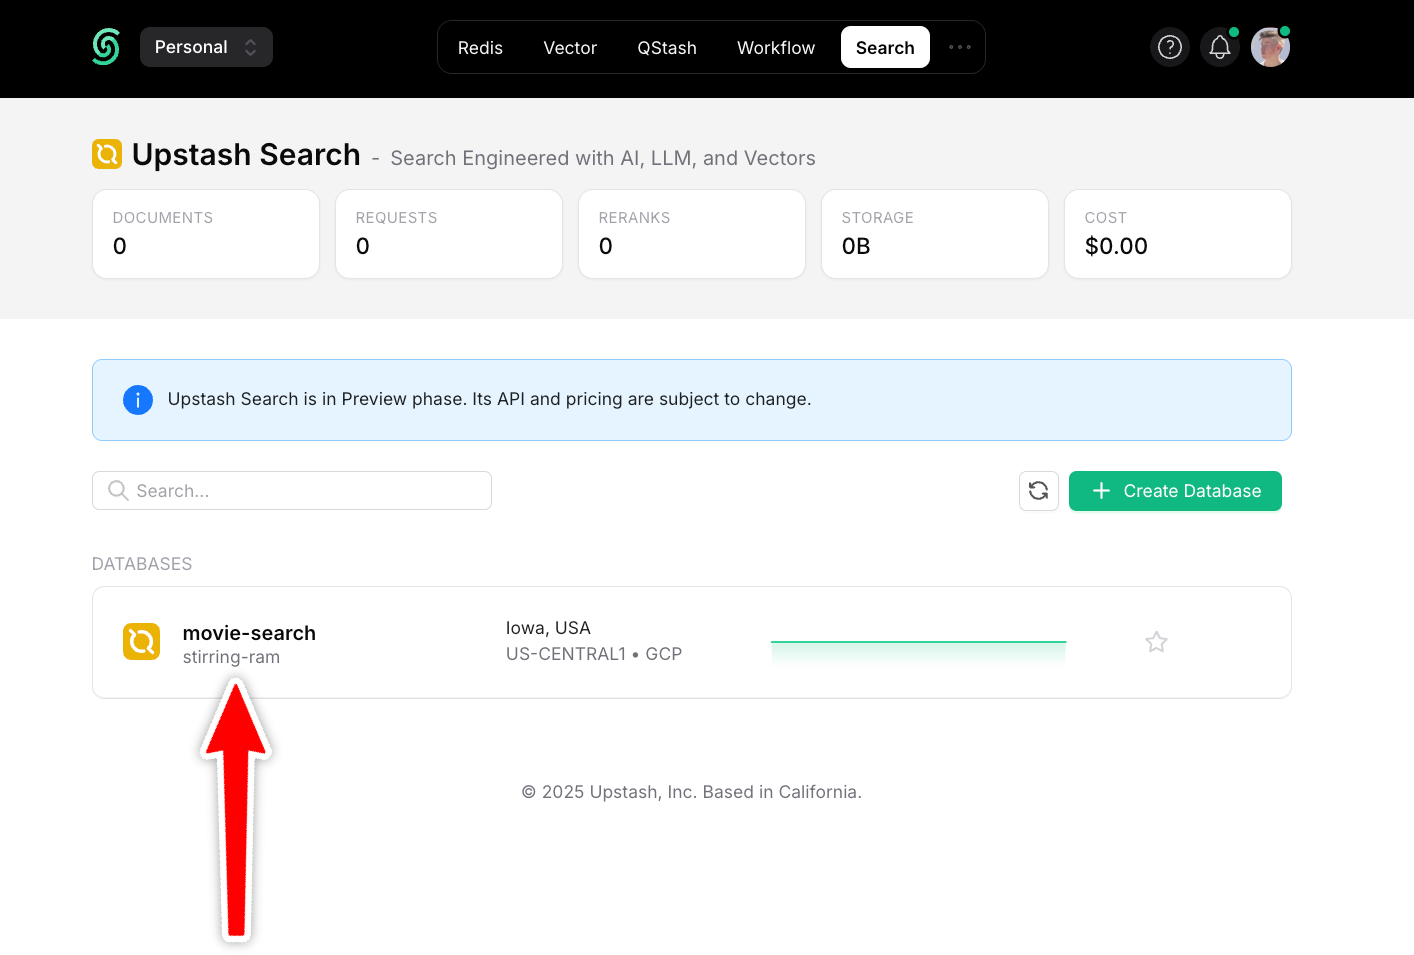
Once you're done, click `Next`, choose a plan, and your Database is ready:
---
## Add Documents
Add documents to your database using our REST API, our SDKs, or directly in the dashboard.
### 1. Add Documents via Dashboard
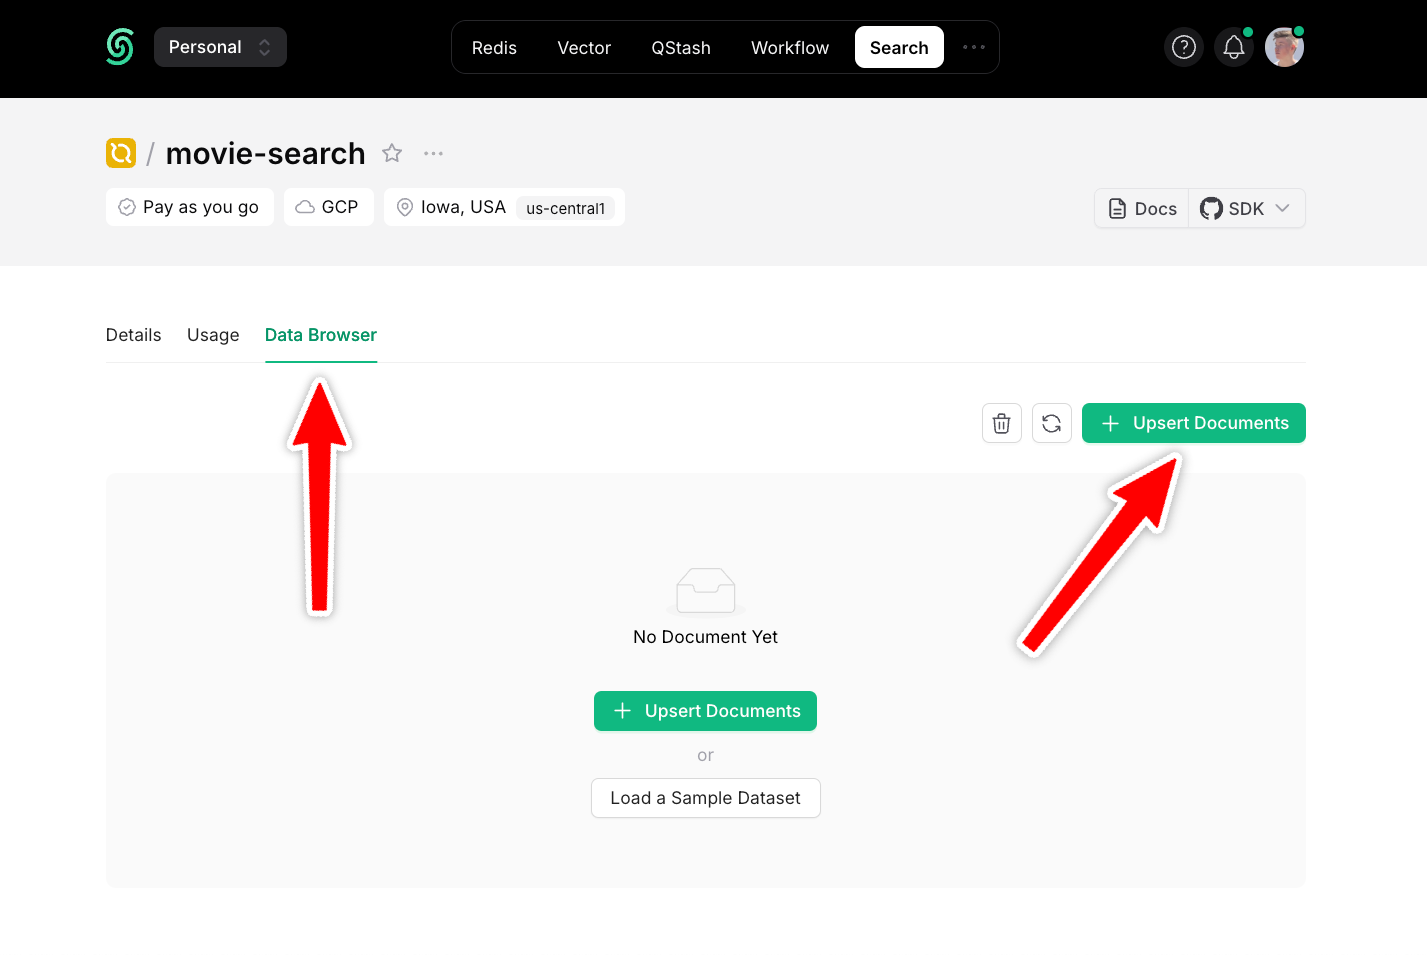
Navigate to the `Data Browser` section of your Database and click `Upsert Documents`:
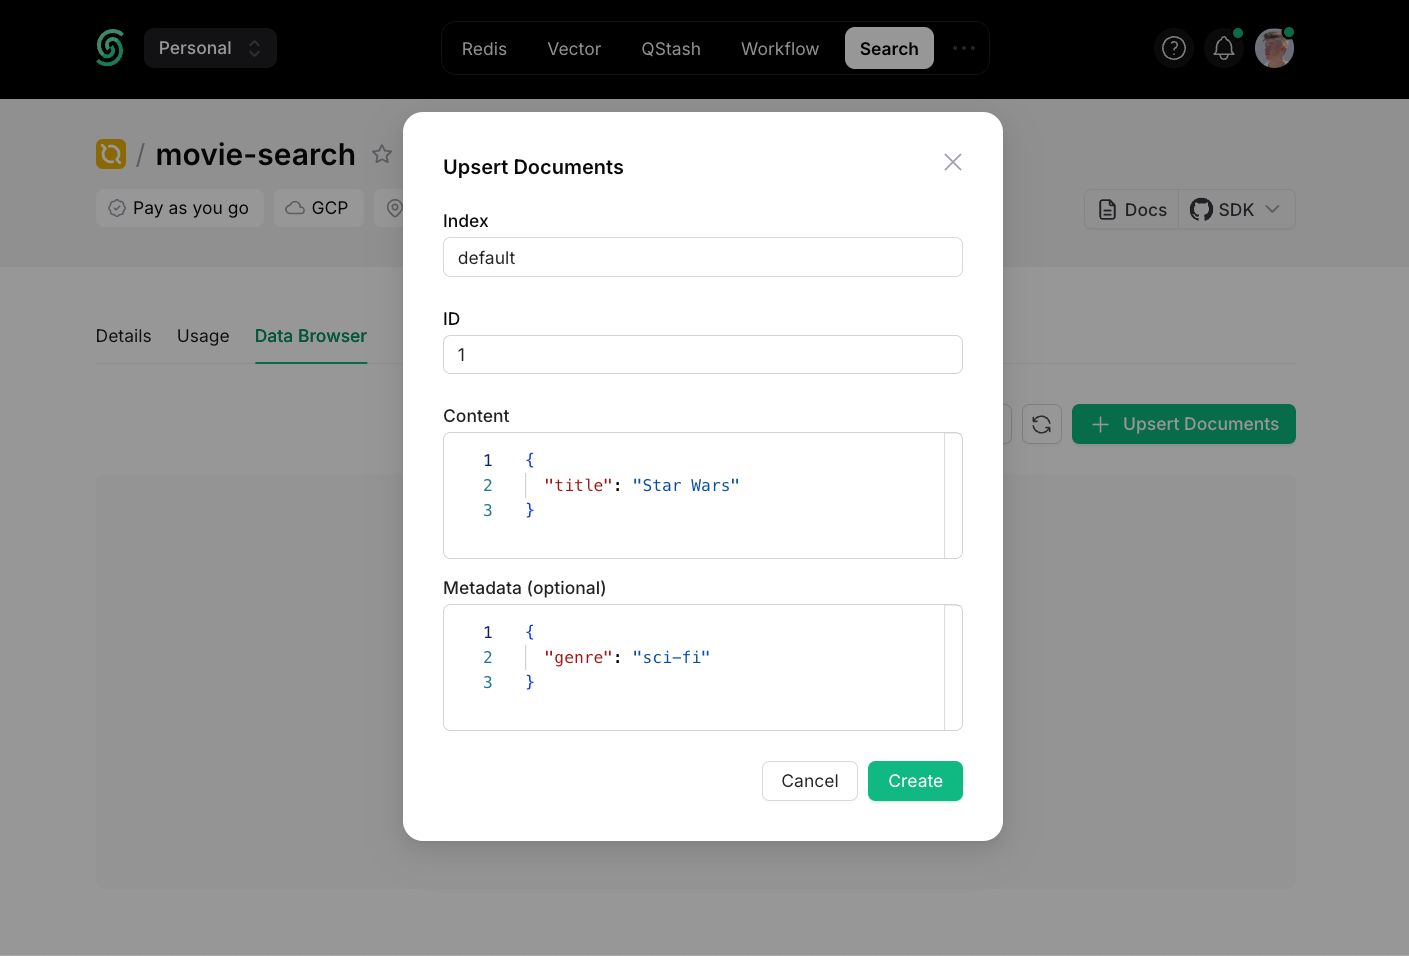
A dialog with the following options will open:
- **Index:** An [index](/search/features/indexes) to group your data.
_If you plan to query all documents in one place, you only need one index (e.g. "product-search"). If you plan to add multi-tenancy, so that each user can only search their own data, for example, you can create one index per user ("user-1", "user-2", etc.)._
- **ID:** An automatically generated ID.
- **Content:** The searchable data in JSON format.
- **Metadata:** Optional information attached to this document.
More information about content and metadata can be found [here](/search/features/content-and-metadata).
---
### 2. Add Documents via SDKs
```python
from upstash_search import Search
client = Search(
url="",
token="",
)
index = client.index("movies")
index.upsert(
documents=[
{
"id": "movie-0",
"content": {
"title": "Star Wars",
"overview": "Sci-fi space opera",
"genre": "sci-fi",
"category": "classic",
},
"metadata": {
"poster": "https://poster.link/starwars.jpg",
},
},
],
)
```
```ts
import { Search } from "@upstash/search"
const client = new Search({
url: "",
token: "",
})
const index = client.index("movies")
await index.upsert([
{
id: "star-wars",
content: { title: "Star Wars", genre: "sci-fi", category: "classic" },
metadata: { director: "George Lucas" },
},
])
```
---
## Search Your Database
You can search across your Database the same way: using our REST API, our SDKs or directly in your dashboard.
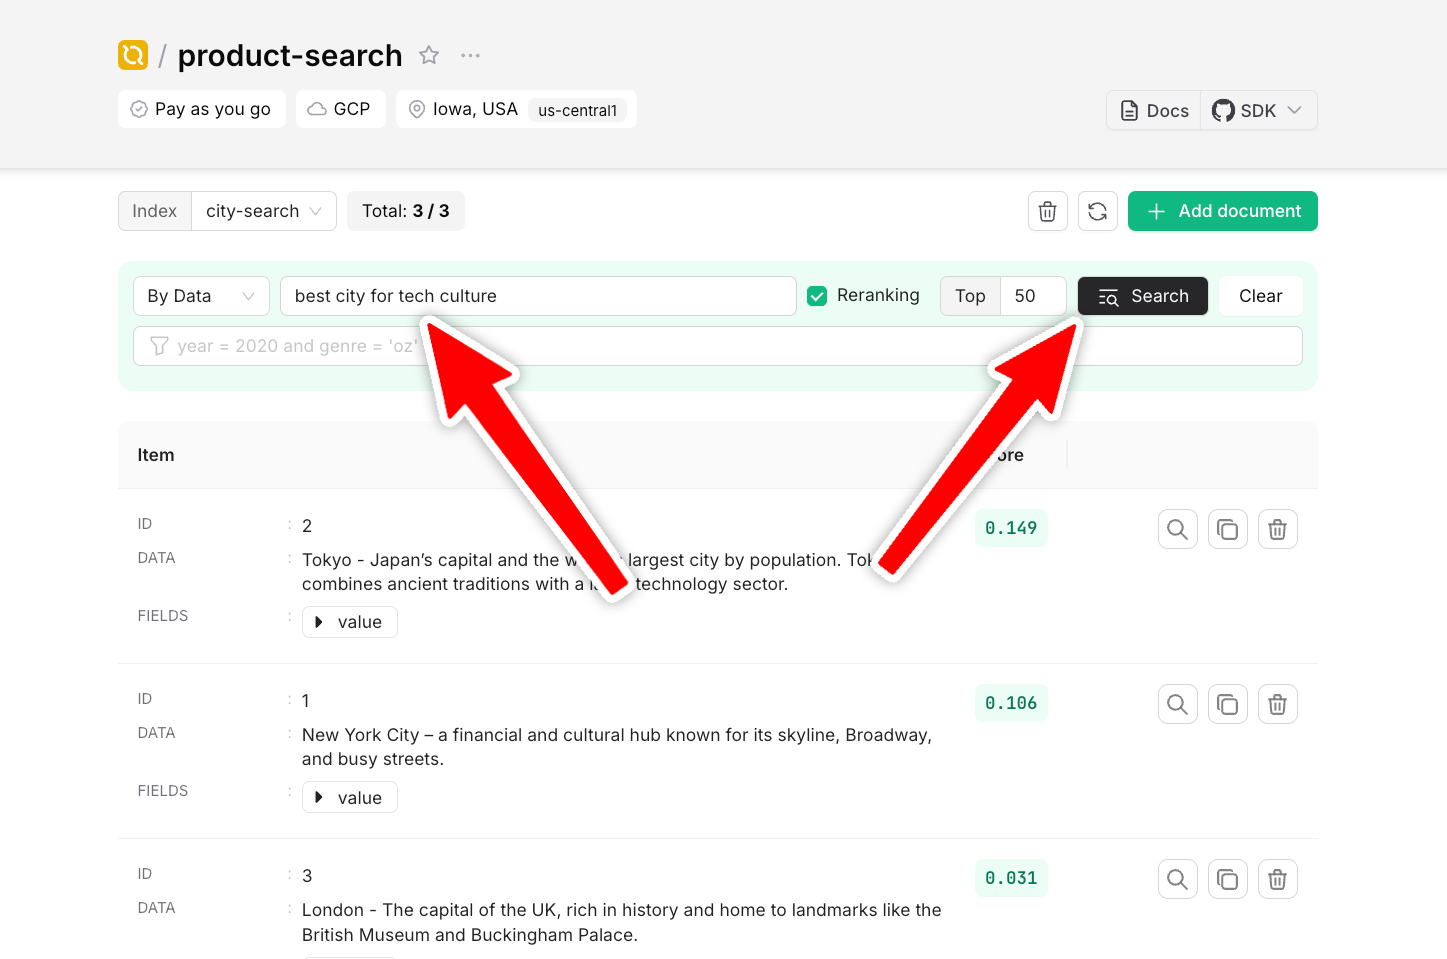
### 1. Searching via Dashboard
To search your documents, enter a search term and click `Search`:
### 2. Searching Data via SDKs
```py
scores = index.search( query="space opera", limit=2, )
```
```ts
const searchResults = await index.search({
query: "space opera",
limit: 2,
reranking: true,
});
```
---
**That's it!** 🎉 You've just created your first serverless search database with Upstash Search!
But this is just the beginning. Upstash Search also supports:
- Advanced reranking
- Fine-grained control over search results
- Metadata-based filtering
We'll get into those features in the next sections of this documentation. For now, you've already mastered the basics!
## SDKs
 A dialog with the following options will open:
- **Name:** Type a name for your database (e.g. "product-search").
- **Region:** Choose the region for your database. For best performance, select the region closest to your application.
_We plan to support additional regions and cloud providers. Feel free to send your requests to [support@upstash.com](mailto:support@upstash.com)._
Once you're done, click `Next`, choose a plan, and your Database is ready:
A dialog with the following options will open:
- **Name:** Type a name for your database (e.g. "product-search").
- **Region:** Choose the region for your database. For best performance, select the region closest to your application.
_We plan to support additional regions and cloud providers. Feel free to send your requests to [support@upstash.com](mailto:support@upstash.com)._
Once you're done, click `Next`, choose a plan, and your Database is ready:
 ---
## Add Documents
Add documents to your database using our REST API, our SDKs, or directly in the dashboard.
### 1. Add Documents via Dashboard
Navigate to the `Data Browser` section of your Database and click `Upsert Documents`:
---
## Add Documents
Add documents to your database using our REST API, our SDKs, or directly in the dashboard.
### 1. Add Documents via Dashboard
Navigate to the `Data Browser` section of your Database and click `Upsert Documents`:
 A dialog with the following options will open:
 - **Index:** An [index](/search/features/indexes) to group your data.
_If you plan to query all documents in one place, you only need one index (e.g. "product-search"). If you plan to add multi-tenancy, so that each user can only search their own data, for example, you can create one index per user ("user-1", "user-2", etc.)._
- **ID:** An automatically generated ID.
- **Content:** The searchable data in JSON format.
- **Metadata:** Optional information attached to this document.
More information about content and metadata can be found [here](/search/features/content-and-metadata).
---
### 2. Add Documents via SDKs
- **Index:** An [index](/search/features/indexes) to group your data.
_If you plan to query all documents in one place, you only need one index (e.g. "product-search"). If you plan to add multi-tenancy, so that each user can only search their own data, for example, you can create one index per user ("user-1", "user-2", etc.)._
- **ID:** An automatically generated ID.
- **Content:** The searchable data in JSON format.
- **Metadata:** Optional information attached to this document.
More information about content and metadata can be found [here](/search/features/content-and-metadata).
---
### 2. Add Documents via SDKs
 ### 2. Searching Data via SDKs